June 1st - June 18th 2021
Well, been a bit busy of late. Full scale life got complicated and summer has finally arrived. Up until about a week ago, it was tolerably hot. Now it’s boiling. The sun scorches your skin even before it’s at its highest peak. I take out my beagle Max every day at noonish and it’s getting more difficult due to the sun’s relentless attack. I do not like summer much. I am not a beach goer (more a lover of lakes and mountainous scenery) due to my super pale skin (yes type I) and the constant need for 50+ sunscreen (that ends up attracting kilos of sand) and my own self image issues (I hate showing off my puffy white thighs in a bathing suit) so living in Italy does have its downside - for me anyway. So much good food that puts on layers of fat and a sun I cannot enjoy. Oh, the irony.
So, here I am up in my hobby attic - dollhouse building, sewing, drawing etc. and thank god we installed a decent AC unit. We actually upgraded it in 2019. The other one was more than 15 years old, so this one works rather well. Without it, no way I could sit up here and play.
In fact I went back to playing with the tiles since the ink pens arrived. They were not as great as I had hoped but will be workable. The ink refill bottles are perfect for the job of inking up the images I need with a brush then applying the clear embossing powder. Works a charm. In this picture, you can see the printed tiles I will be using (I have 12 small spaces and 4 larger ones that need tiling) and you can see the reflection of the pebbling effect from the clear embossing powder. Now I just need to mount them on the white backing for inserting into the panels (which I still have to paint two more - I got side tracked making the tiles - they were more fun than painting).
 |
| Embossing the printed tiles - you can see the pebbled surface I like | .
|
I had bought a long time ago when it was on sale a series of pub signage. It was a large frame, a sandwich board, a wall board and a hanging sign for outside all in one package. I had found an image which I really liked of an art Deco style woman holding a flower of some sort with little children or “putti” holding her dress. I liked the subtle colors and the image and decided I would put her in the large frame. That meant that once I printed it to size I had to cut the frame to size as well. First issue was that my printer started acting up. I had bought new ink cartridges last year but as usual, they never last as long a they advertise. When I went to buy more, I found that the prices were getting out of hand (€47 euros for two cartridges and only on Amazon!!) especially when I can buy a new HP multifunctional printer here for €59. Ho hum…. So, I managed to print out most of my colored tiles (seeing as it was the black ink that was acting up - probably due to the heat in the attic when the AC is off) and the deco Dandelion lady. I will deal with the new ink cartridges later. Then I set out to cut the wooden frame. Easier said than done. My dremel attachment (a diamond type disc) wouldn’t stay in place so I ended up having to hand saw the frame. No problem, I have lots of different saws and vices so that just took around an hour to cut and glue. Once dry on the next day I got to sanding all the edges to smooth it out. To be honest, I am not very happy with how the cut shows but since I had decided to gold leaf the frame I figured it wouldn’t show that much.
 |
Deco Dandelion lady and the now cut frame.
|
 |
Yes, a bit crappy but was going to be covered in gold anyway.
|
 |
Adding a little embossing shine to areas inside the image.
|
Getting back to the Dandelion lady, I could not read the signature on the image and I wanted to label it. I wanted to figure out if, in fact, she was Deco (since I was going for the idea that the limonaia would have been old but updated around turn of the last century) and upon doing a Google image search, I found out all about it. She would be a version of “Queen Mab" from a book about fairies called Peter Pan in Kensington Gardens illustrated by Arthur Rackham -1906. Turns out he illustrated many books - not just fairy tales and such - and his work is a bit frightening yet beautiful. I found a nice entry from the same blog listing all the books he has illustrated and mentioning that he knew Tolkien and influenced some of the tree imagery for Lord of the Rings. We can even see influences in Disney’s nightmare in the woods sequence from Snow White and the Seven Dwarves. He also illustrated The Wind in the Willows which is a favorite book amongst many young people even today. So, yes, this image would work well. As I said she is a version of “Queen Mab” - who rules the gardens - but not always. She has morphed in many different literary works from someone beautiful to even one of the most famous evil queens - The Queen of Hearts - in a retelling of Alice in Wonderland (Andrzej Sapkowski). So, yes, after enjoying all the information and imagery I believe my Queen Mab will fit into the limonaia just fine.
I managed to find the actual glue I had bought a hundred years ago for gold leaf but it was pretty melma (slime) like. Almost like snot. (Sorry). But it did work better then the other glue types I had. Soon enough, after around 20 minutes I remembered how much I disliked gold leafing. I did cover most of the frame (but not perfectly - it is supposed to be old), then varnished the gold to set it into place as the actual leafing glue was not 100% guaranteed to hold. Then, I found a darkish Burnt Sienna acrylic and lightly sponged areas of the frame to “age” the gold, sponged the back and the inside and just needed to frame the image.
 |
Glueing the gold leaf onto the frame...
|
 |
...covering as much as possible.
|
 |
Sponging in a bit of bronze coloring....
|
 |
...finished frame.
|
 |
You can see that the external sawed edge is practically invisible. Inside will be under the image.
|
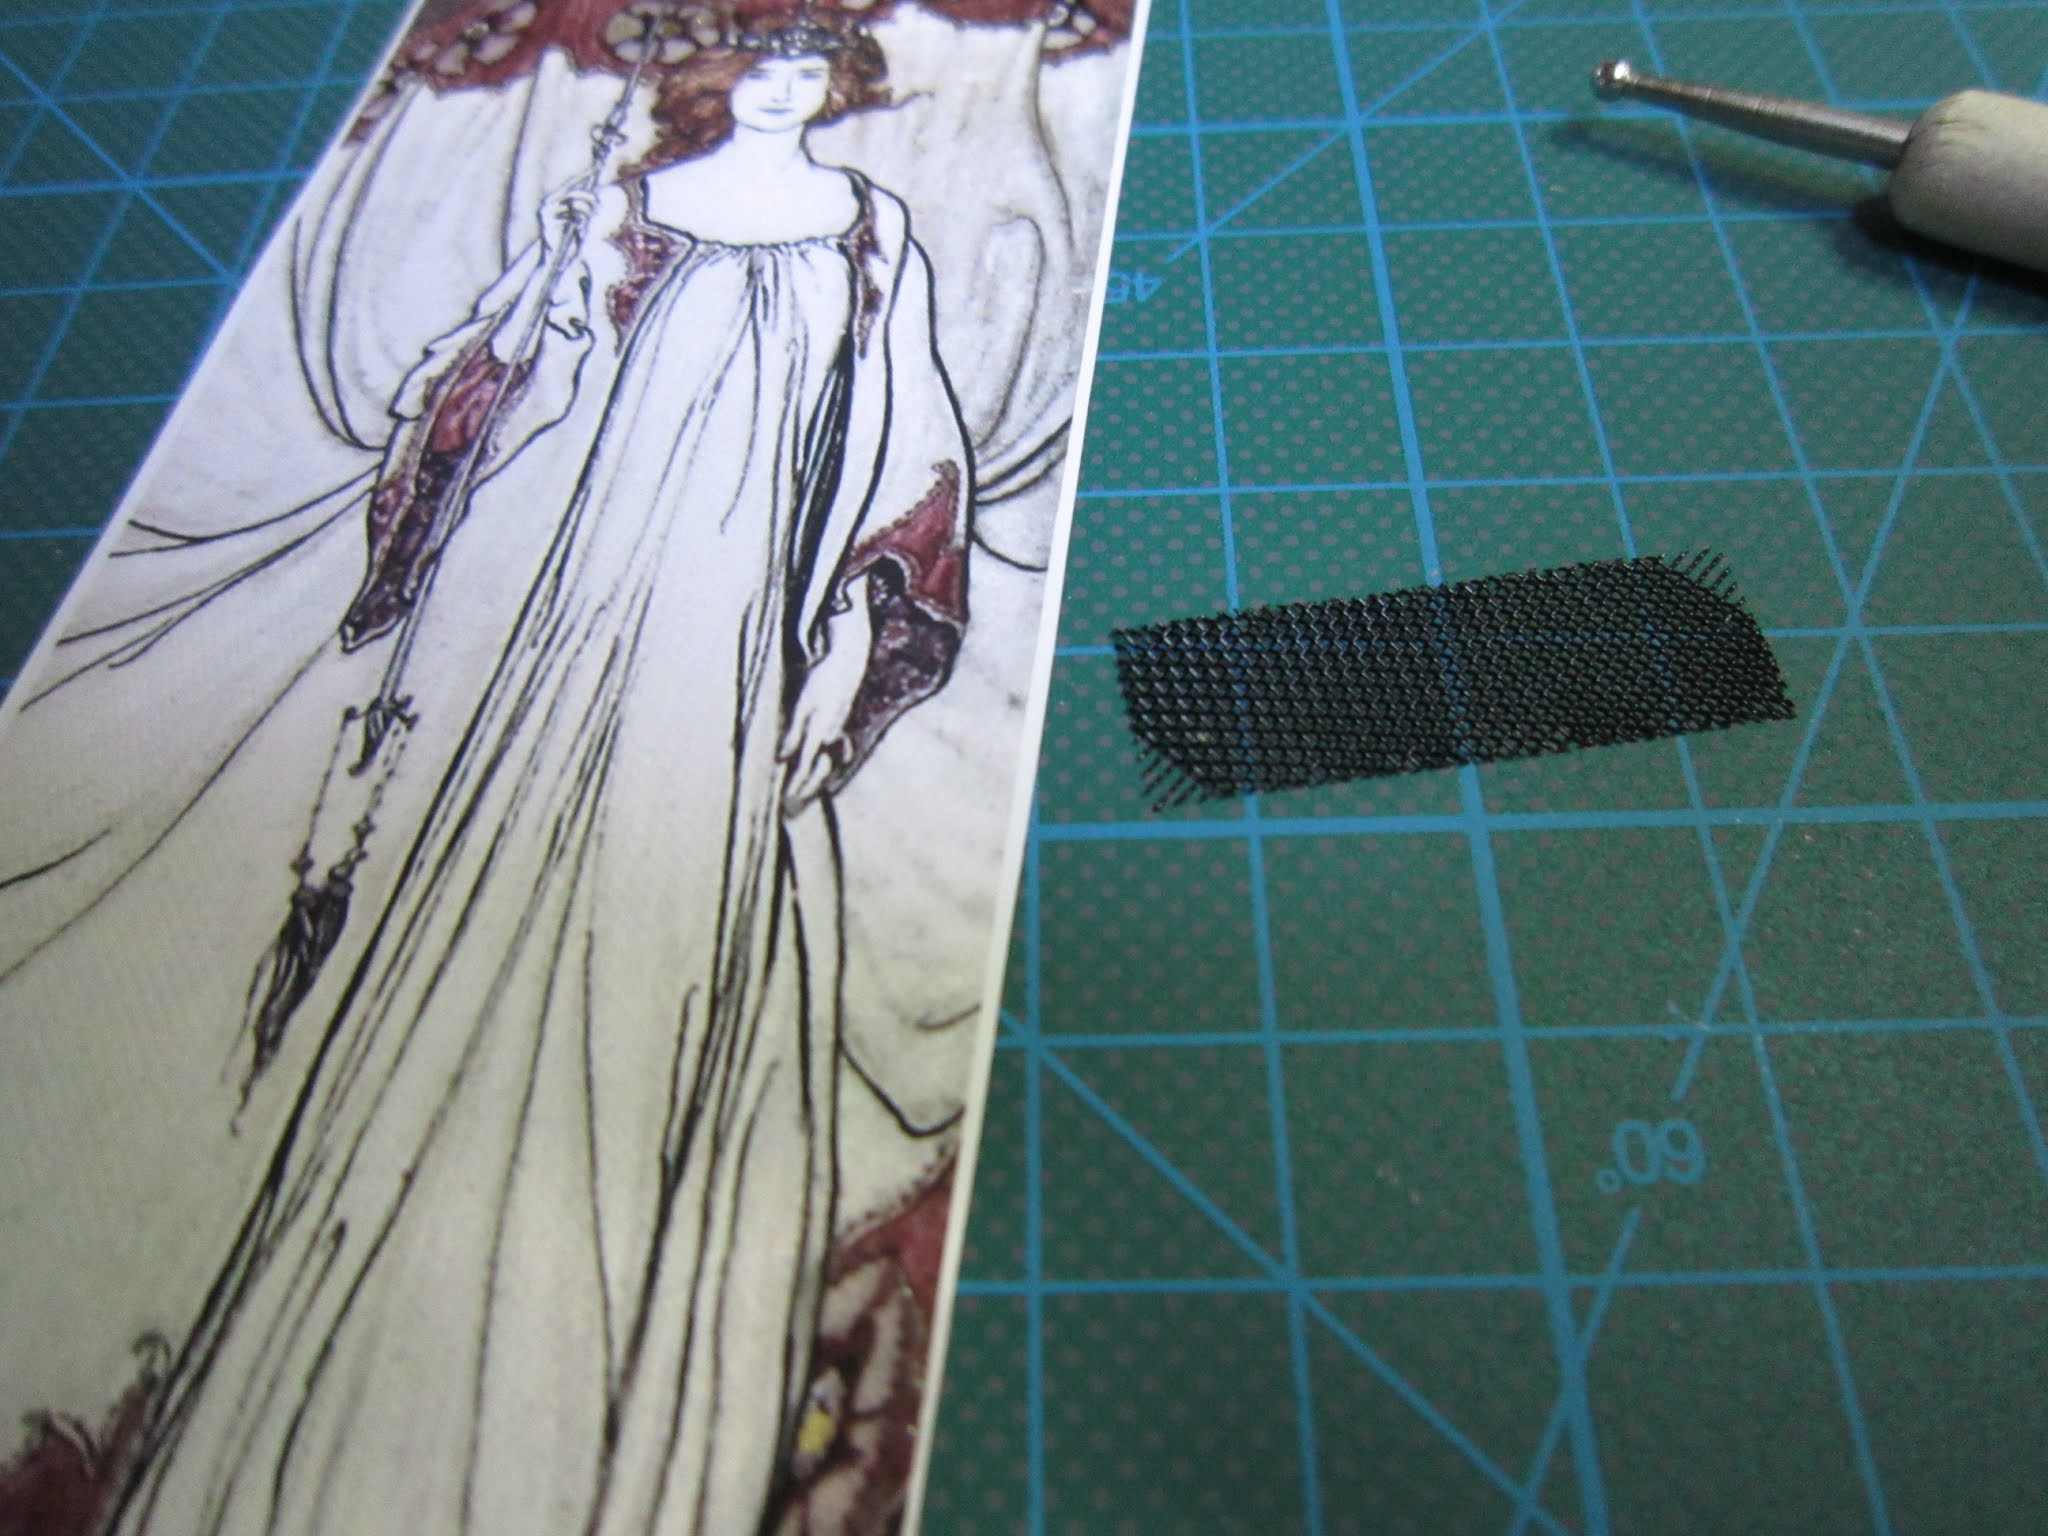
I set to work aging the image of the Queen Mab and even added a little bit of texture to the surface (by pressing the front onto a small piece of netting) to give it the look of canvas. Then I aged it with some more chalk pastel and set her into her frame. I think she looks fairy-ly regal. Will just need to decide where to hang her inside the limonaia. I am still working out how the room will be decorated. Anyway, slowly making progress and still having fun.
 |
The image on the left before aging onthe right.
|
 |
The piece of netting I used to give the image a canvas look.
|
 |
Close up of the canvas texture.
|
 |
An idea of size - I like that it's large.
|