Showing posts with label mini tiles. Show all posts

Wednesday, March 23, 2022

Completing the panel tiles

16th March - 22nd March 2022
I started making some trials on the foam to see how I could finish up the external areas not covered by the larger center tiles. I used the paper folding tool and made tile indents then tried some gesso on it - and some gloss varnish on top. The gesso made no difference so I applied layers of gloss on the areas that I have “carved” out of the foam. I had to do that before actually glueing in the tile image. The foam tends to absorb the varnish so I had to carefully layer it till I got what could pass for a tile that’s been in place for a while. I had thought about using the embossing sand on the foam but since it would probably melt under the heat gun I rejected that idea. I think they look fairly realistic tho.
Shaped fake tiles - using varnish for shine.
Positioning the larger image.

Finished image application
I then applied the other square tiles in their spaces and used my paper tool to emboss indentations to simulate the tiles’ junctures there too. I was careful not to press too hard otherwise the paper might rip (which it did a little on one tile). 
Simulating grout indents between the tiles.
I didn’t really like one of the larger tile designs but I had printed out a very large one that could be cut down to size. But, I had to emboss that one image and size it to the space. Of course being such a large design it took me a few passes with the embossing powder and heat gun to get it covered and even then I missed a spot. I mounted it onto the base and pressed in the grooves between the tiles and touched up the missed spots with my varnish. I think it looks ok. 

Covering the image withe embossing powder.
After heat gun application

Cut to size and positioned.
While doing that, I figured there had to be a way to make the tile indentations look grouted. So I ordered off Amazon some white ink ball point pens. Only after reading lots of reviews did I decide on the Uni-ball point instead of a gel pen or brush pens. I didn't care if I had to pass over the tiles more than once - I just wanted to simulate grout. These pens worked perfectly! The only down side is obviously you can see where the tiles were not spot on straight in some of their positions. But that’s ok. I like them anyway! 
Testing the grout lines on my test tile

You can see the "grout" lines penned in.

And onwards to "grouting" the rest!
Here is another blurb about the Bizzarria - and it also mentions the villa at Castello where they managed to bring it back.

Tuesday, March 15, 2022

Placing the Tiles

January 4th - 14th March 2022


I have been gone a while. Too much going on in real life between my annual preparations for Halloween, then our small Thanksgiving feast in November, then of course Christmas. I had been distracted a little doing other hobbies (like crochet) and then work issues. I finally got let go from my job (the Italian state wouldn’t let them fire me till 3rd January - after a year!) and promptly found another job less than a week later. That’s good. Then my husband caught COVID - that’s bad - and I managed to avoid it for a while but had to quarantine at home. Which would have been good but I had to cook and constantly sanitize everything because my 84 yr old MIL decided to do something which caused her to fall and break a vertebra - very bad - and I was helping out with her. A week or so later, I ended up with the virus along with my son and MIL (so now at least my husband could take over for MIL - that’s good). Consequently I ended up on sick leave for another week. Bad.
Anyway, brand new job and I lost a full two weeks of training in my first month. Didn’t matter anyway. I got interviewed (Zoom- I was still in quarantine) and offered another job more suitable to my skill set so I quit the job I had for this new one and should be starting it soon. Turned out I have not had a lot of free time to screw around with my mini project. Oh well, I’m back now.

I had promised myself that until I finished painting all the panels of the green house I wouldn’t embark on any other things for the project so, I can say at least, that I finished painting the panels. I made them white and decided I will age them up a bit on the outside. But I’ll do that once they have been screwed onto their bases.

Finised painting the panels both sides.

I began by cutting out the embossed square tile sheets I had made some months ago (I bought a brand new cutter - a Cricut one - that works really well and better than the circular blade type cutters) that would fit in the square spaces of each panel - 12 total. I also cut out the foam core material that I had bought ages ago (stumbled across really) to fill the spaces and give the idea of actual tiles inside the the panels. I preferred the flush kind of look instead of just the thin piece of paper against the wood - didn’t look very tile like to me. Gluing them in place I found it better to apply the glue to the foam core and then position the tile on top of it. That way the paper wouldn’t curl during application. Worked out fine.

New Cricut cutter - so far a valid purchase.

Cutting tiles down to size.

I had made a template to cut the foam core.

I used my paper craft tool to fit the tiles flush to the edges.
Next was working out the center panels. I had some larger tile images that I would use there but they really didn’t fill up the entire space. So for now, I’ve positioned them and will think about how I’d like to finish the space around them. Maybe with the foam core and simulate a plaster or tile like surface? Will mull it over.

Working out the center panel placement.

Here is another site with info about the Bizzarria lemon. The more I read about it the more I am sure I want to call my tea house/limonaia Bizzarria.


Friday, May 28, 2021

Painting....

14th - 28th May 2021

So waiting for the stupid ink pen to arrive I started working on the other panels sanding and cleaning the window panes and painting everything white.  I decided to stop painting the panes separately and just glue them and and paint them on the panel. I figured it was the same thing more or less and less of a struggle to get the panes into place since everything swells a little after painting. Easier this way. While doing this, your mind wanders so I listen to music or something else but mostly contemplate about these tiles and the structure etc.

Anyway, I got to thinking, there must be a better solution than the pens since a lot of times they dry out and I really do not need to write anything (these pens are great for calligraphy).  I just need to fill in the entire tile to look shiny like a tile but rough like they’re old. Then a few nites ago, I got an idea when checking the tracking on the pen I ordered (2 weeks later and hasn’t even left the USA yet) and noticed that Amazon sells ink refills for the slow drying ink/glue used in embossing. You buy this little bottle and spread it on your ink pad. So, I read the reviews on Amazon US and found out that they are sold like little droppers (about half an ounce) and are exactly the same ink glue stuff that would be in the pens. Eureka! I find comments that you can use a brush to cover larger areas too. So, over to Amazon.it to find out if they sell it.  They do, at twice the price. Ok, bummer, but even if the other pen arrives, this solution I think is better. So I bought the ink (like €11 with tax!) and received the package only to be pleasantly surprised. They put in two bottles instead of one (I double checked and the description said only half an ounce (15ml)) but yes, I got two. Jeez what a break! Of course in the afternoon I went straight upstairs to test it.  I mounted the test tile on the white foam type backing and painted an area over the tile, sprinkled the transparent powder and heated it.  The white backing bends with the heat but is easily bent back and the ink works perfectly.  I’ll probably have to emboss each tile before mounting them on the white backing but hey - we are a go for this process once I am ready to start embossing the tiles.Very cool!

You can see the pebble effect I like in the shiney area on the right.

But I can still make the embossing thick enough to be smooth.
While painting the panels (still another two to go) and doing some cleaning of my craft supplies, I came across a bottle of Crackle Medium. I bought this back when I was doing a lot of decoupage type projects. This medium gets painted on between two layers of contrasting paint (usually a darker one underneath) and causes the top layer of paint to crack showing dark areas underneath. Hence crackle medium. I had the idea that I wanted to age the paint on the bottom of the panels where maybe lots of moisture build up would cause cracking. I decided to test if I just dusted some of my chalk pastel color on the first layer then put the crackle on to see if the result looked oldish. It did actually! So we are a go for using this to make the bottom parts of the panel look weather worn. I did the first panel and I do like it. Saves on having to paint and weather by hand.

Making a test for the cracklé medium.
Applying the chalk on the painted surface.

Using a brush to spread the chalk.

Final effect. Looks fairly water damaged.


And various museums are re-opening this month - Boboli and its limonaia today. Restaurants are opening for indoor seating on 1st June - next week. Course reduced capacity and masks and distancing are still required but slowly we should return to normal after a year of lockdowns. I hope anyway. 


(oh, and the pens arrived today - so that's a good thing. I need some good things to be happening as there is way to much negativity going around that I can't control. So it's nice every now and then.)


Friday, May 14, 2021

Tile Experimenting (continued)

1st May - 9th May 2021

Tile trials - embossing tile lines.
I continued experimenting with the tiles that are going to fit the inside panels under the windows. I put one tile on a piece of corrugated cardboard for backing and painted some glossy varnish over it.  I think 3 or 4 layers. The ribbed corrugated cardboard shows thru (so that will not be an option for the backing) but luckily I was in a dollar store and found some white foam type material which should work better. I had to use a ball embossing tool to bring out the tile lines and press a little into the cardboard so I needed something that wasn’t too rigid to allow me to simulate that these are like single tiles and not just one big one. I think the white backing should work better than the cardboard.

Corrugated backing shows too much.
Anyway, it just took so long to make one tile I decided to try and find clear embossing powder. Easier said than done. There are no more stores dedicated to crafts around where I live.  Given that it’s still semi-lock down here, it’s not like I could wander around trying to find embossing products. No luck on line either. Amazon had one but it was like €16 euros which is amazing considering these things cost like under $10 in the USA. Talk about a rip off!  So, I had an idea - I had bought thru Amazon Germany in the past. Even with the cost of transport from Germany it would still cost less for a 25gr container of transparent powder.  So I ordered it off of them and it was delivered in under a week. Crazy! You would think during lockdown that stores that sell craft supplies would be stocking up. Weird.

Test fitting in the panel.

My idea was to use the clear embossing powder since it would be quicker than the varnish method and would look more interesting because it would not be a perfect surface. The idea is that these tiles are old and have been in place a while. So they cannot look new. I printed off all my tiles on a piece of photographic paper to get the colors as intense as possible.  I made a few tests on the crappy color prints just to see how the colors responded (the ink pen I have leaves a slight light blue tint so it’s not perfect for light colors) but I figured it would work.  

Printed tiles ready for embossing.

Clear powder on blue looks great.


You can see the blue hue on the white.


The transparent powder does a great job keeping the color but the blue hue in the glue pen was obvious. So, back to ordering another pen off Amazon.  This one is going to take a month to get here. Go figure. No problem - the time spent waiting will be filled with painting the panels white, something I am realizing is taking longer than I thought. 

I did finally receive the miniature cribbage boards I ordered though.  Pretty fun! So here is a pick of all the different board games I’ve managed to collect so far.  The baseball board game has been the most costly thus far.  It has all kinds of little game pieces inside.  And I have no idea yet how I am going to set up the Chinese Checker game - it comes with all the little colored rounds pieces! Maybe I will just have to fashion a miniature bag to hold them. Still missing checkers and backgammon board. Will keep my eye out for them.

Board games for the games cupboard

Cribbage !!
I’ve been making blueberry muffins lately and would like to try some different ones. Setting my sites on this lemon muffin recipe with buttercream frosting. Decadent.


Monday, April 19, 2021

Nobilissimo Gioco della Mea

Nobilissimo Gioco della Mea - Villa Petraia Florence
15th - 19th April 2021

While I was printing off the little tile images, I came across another image I wanted to use. I had gone to Villa Petraia years ago and in the games room I found a board game hanging on the wall.  It is called the "Nobilissimo Gioco della Mea". Basically it has a spinner and each player is supposed to place their bets on one of the figures or symbols and spin. I couldn’t find the exact way it was played but I found it in a list of games that are played even today during parties in Venice organized by a tourist agency and calling the events “Casanova’s Casino Games”.  So, since I will have a board games cabinet, I wanted to hang up a mini version of this game.  Of course, when I took the picture I did not take any notes about the actual game - to understand if it was a functional board game or just a picture of a board game with spinning indicators. But from the picture I took, it looks like there are actual spinners.  So now what. 

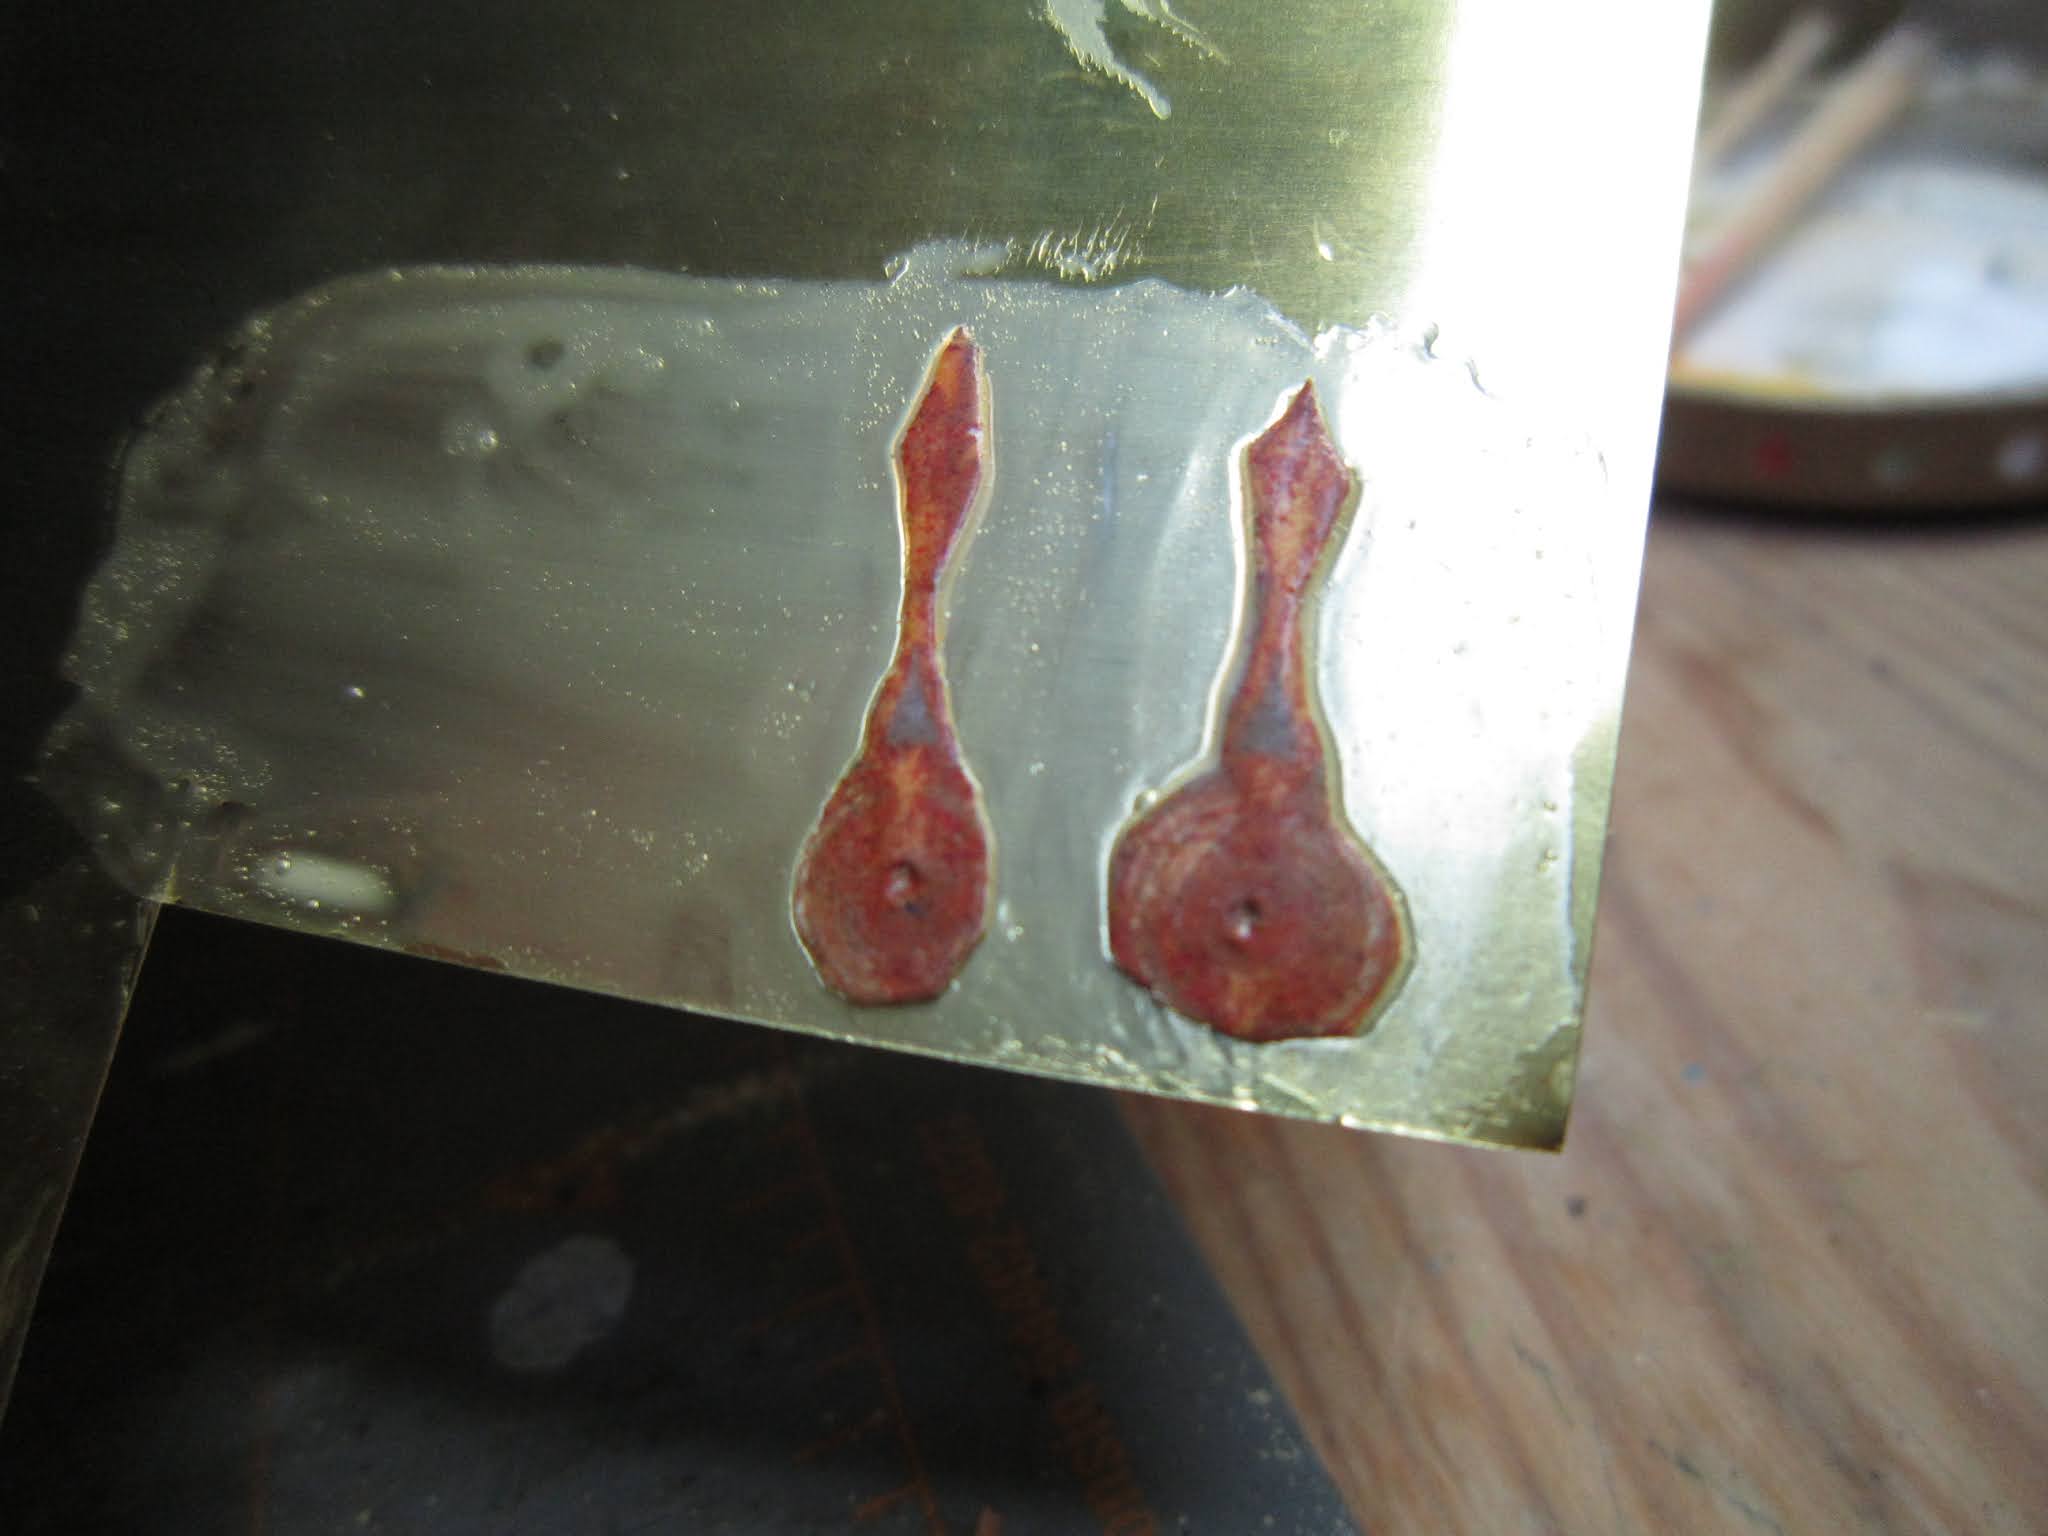
The only thing I could do was to pull out all the bits of hardware I have come across or own to fabricate the spinners. I am a broken bits hoarder and have an actual small lid I flipped over to create a container of bits and bobs as I come across them.  Not only, I have small jars in my tool trolly for electrical bits and even mechanical crap - lots from when I built a PC years ago with a friend - and even a watch that I had picked apart.  And that is where I found some of the pieces that could be used to make the spinner.  Course I didn’t have the actual watch hands (they are in the Japanese Dollshouse foyer) so in the end, I printed the spinners on photographic paper which is thicker (even if the colors became quite washed out which was disappointing) and glued them to the piece of lamina and decided to let them set overnite.

Spinners glued to the brass lamina
Anyway, days went by when I couldn’t get upstairs to dedicate some time to playing with things but it gave me time to contemplate how I wanted to make the board game. I wanted the back to be some kind of semi-rigid metal so I decided to cut out a piece of brass lamina and use that as the back. After slitting my hands on the lamina a few times, I finally managed a small plaque and wanted to age it. That didn’t go well.  The only aging methods I found online were for steel type metal and not for brass lamina so nothing worked. I set out, again, to find what others have done to age or rust surfaces. I came across a great one which I will have to try and adopt for molding and aging the brickwork too but what I brought away from all the research was that I could easily simulate the rust on the back of the plaque using normal acrylic paints and a bit of crumbled mortar granules.  So that is what I manged to do - successfully I think!

The lamina after trying the failed chemical treat so resorting to paint

Finished back of the brass lamina after painting.

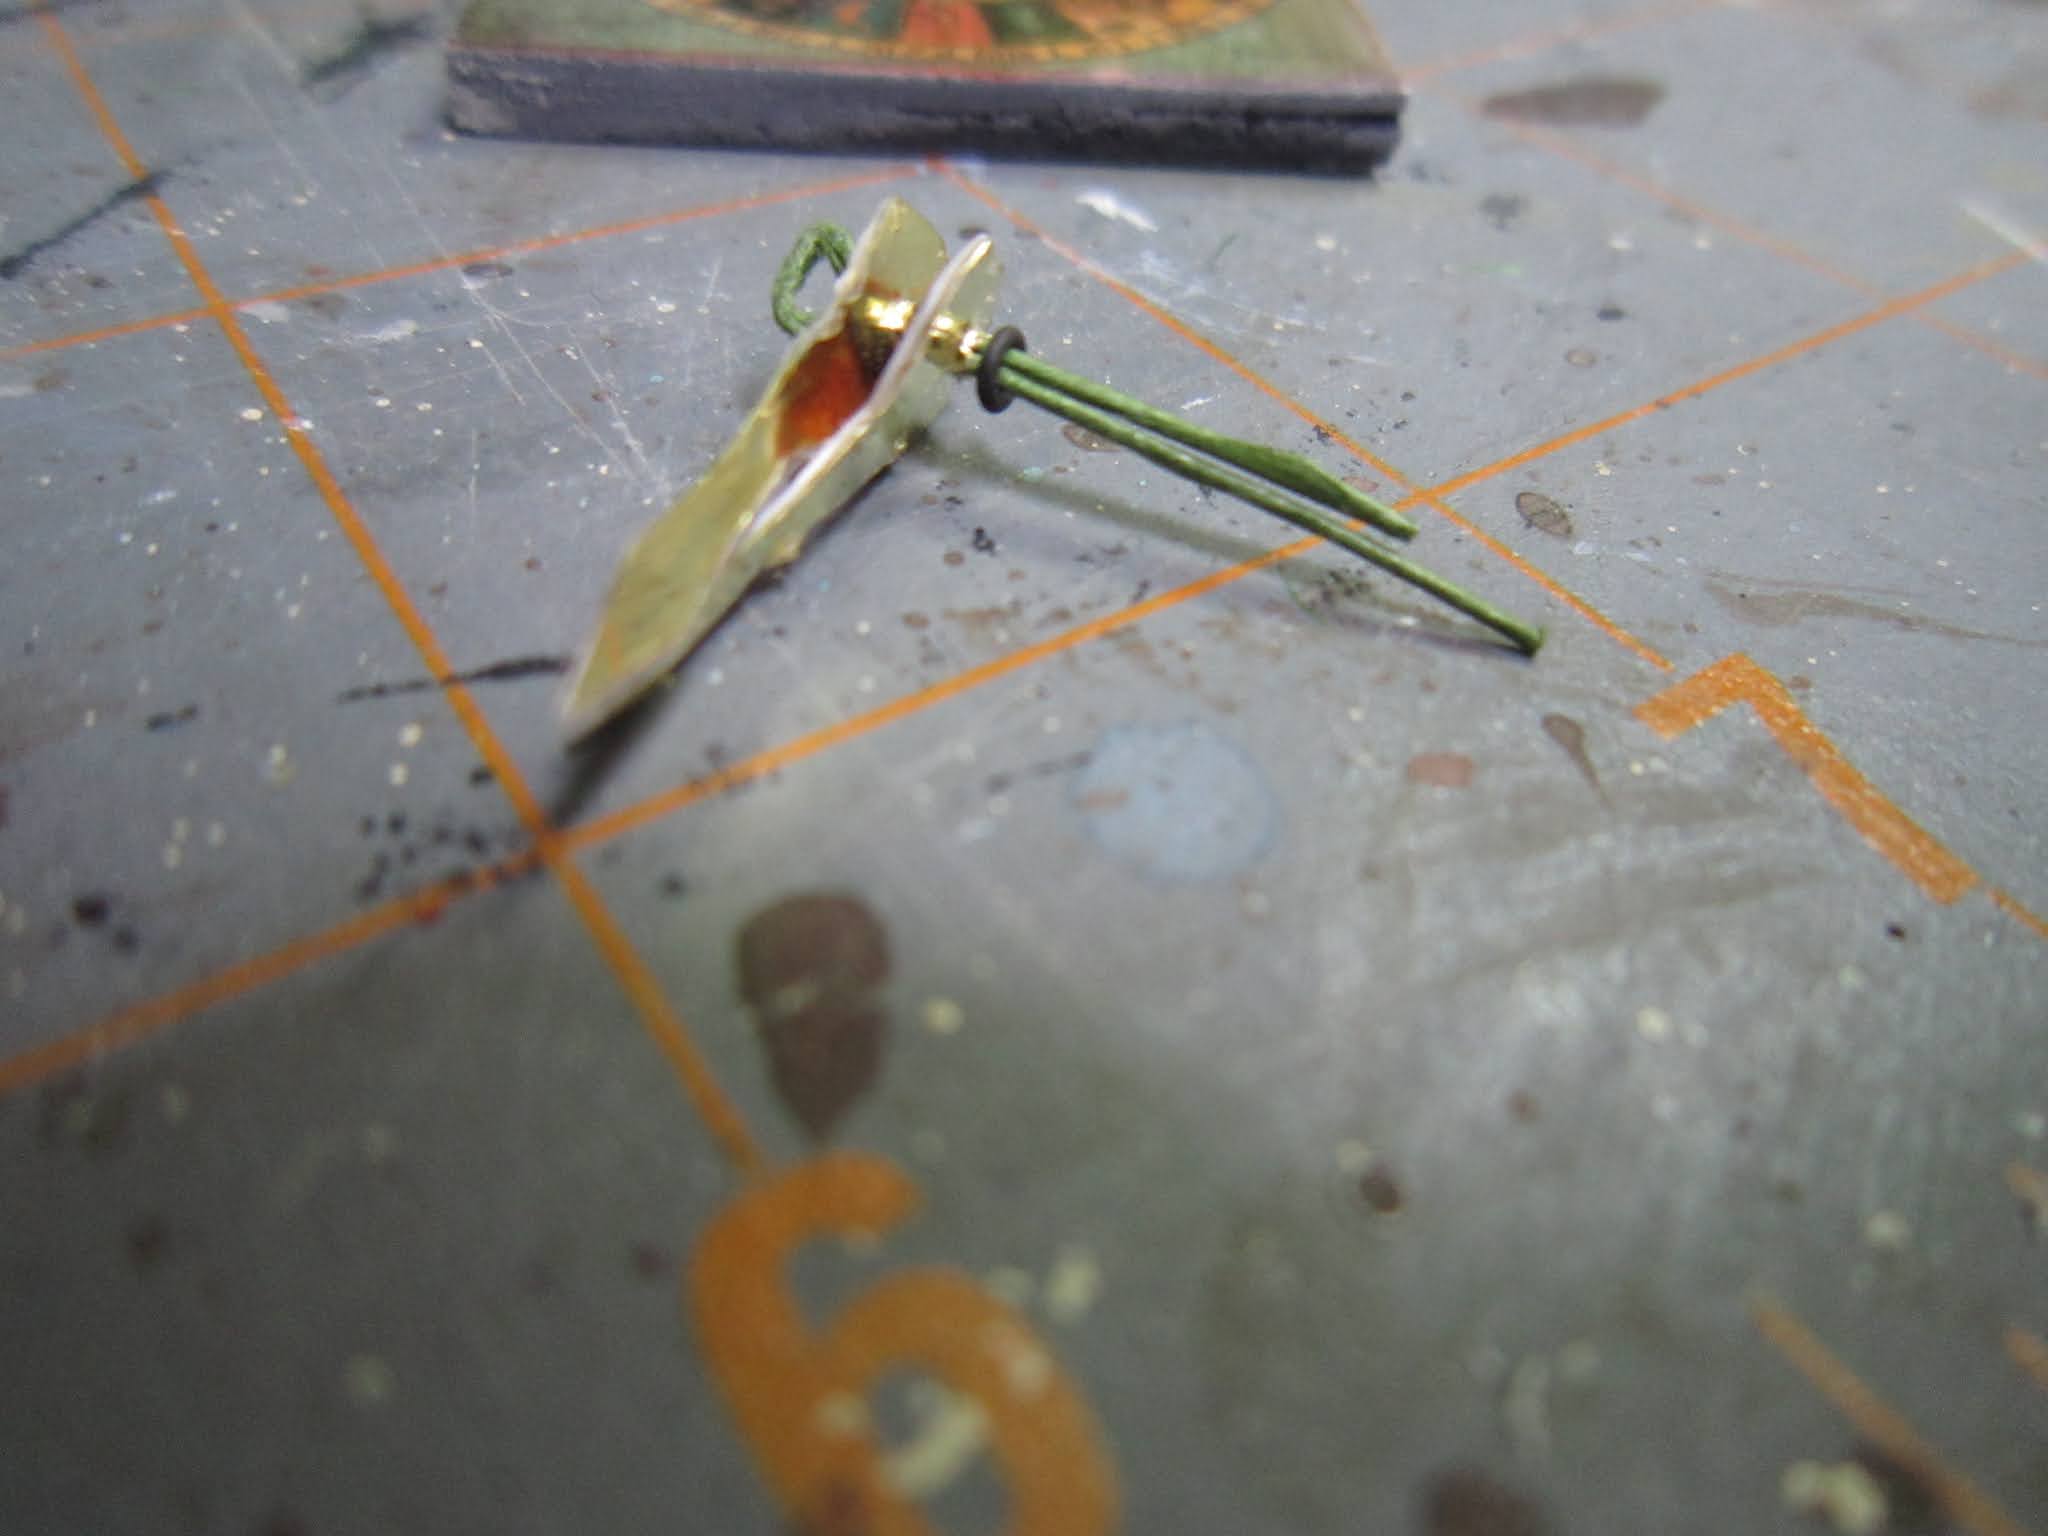
Next was to find a piece of wood to form a base between the game board and the lamina. I figured I was going to need a way to support the spinners so a soft backing board (balsa wood) to peg the spinners and then attach the rusty back lamina sheet would work well.  I cut a small piece, painted it a dark grey and then proceeded to cut out the spinner arrows. The paper did not glue up entirely to the metal but I was able to cut the spinners out even if they are very approximate. In the end I went with a very fine gauge floral wire as the anchor of the spinners and tiny loops I had on hand as washers - so that the spinners would at least move around even if they won’t spin entirely. I managed to thread everything through (after dropping things many times) and put a drop of glue on the back to hold it together.  I let that dry and then attached the "rusty" metal lamina to the back (using a different kind of glue to insure that it won’t come unattached) and aged the sides and spinners a bit. I must say, I like it. I think it will look good in the games cabinet.

Threading the spinners and "washers". Super tiny!

Finished game board, with working spinners

Rusty back of the game board

Cave Canem (still slightly wet)
To finish off this little project, I made a tile with the “Cave Canem” from Pompeii as a sort of “Beware of Dog” sign for the Orangery. I attached a small hanger so I can place it in the door when the time comes.  He’s not exactly the same as the Roman dog but a nice modern version that was created back in 1955 by Creazioni Luciano I guess. Here is a link to buy one if you like it!


(I have no affiliation with anyone or any site for the images or tiles - I just am linking to give merit to who the artisans were or are.)

 

Painting and Playing

12th April - 15th April 2021

Starting painting the exterior


So, getting back to my mini project, I started looking into methods of aging the bricks and got side tracked. I will need to paint both inside and out of each panel so I started to think about the interior decoration while doing that. I am planning to use the typical Tuscan and even Amalfi style of tiling on the inside. Yes, it’s true, most of these limonaia never really had tiling from top to bottom but I am going to put some mural tiles on the inside of each section under the windows.  Also here I will need to age these a bit but I needed at least to start off by finding some images to use.  So after digging around on the internet, I managed to find some and adjusted the dimensions somewhat to fit my needs. First was to print them out in black and white on the normal printer to check sizing etc. Then I print them out on my color printer, again on normal paper.  I like the colors very much! So bright!
Sizing and placement tests
Years ago I had bought some little ugly 2cm by 2cm glass mosaic tiles at a craft store. They were cheap and crappy quality but I plan on covering them with little citrus images and tile designs. I was going to use these in the spaces under the windows but the sizes do not match up and since they are glass and not acrylic, I needed to make some tests on cutting them to size.
 
First little tile done.
So, in the meantime, I screwed around with putting an image on one anyway, just to test it out.  I glued it on with watered down Vinavil glue (no such thing as Modge Podge here in Italy), then a little on the outside being careful not to apply too much to avoid smudging the inkjet image. Once it was dry, I varnished up the outside. I made it pretty thick so that the tile didn’t have a super even surface or streaks.  I think it came out great! Now just have to fool around with trying to cut them just to see if I can and be able to use them elsewhere in the tea room. (I found this image off a vendor on Amazon)


In my searches on the net I came across another person writing about lemons and Florentine lemons, just a small excerpt but nice none the less.  The blog has lots of info! Check it out!